
Replacing Terminal Block on Whirlpool Oven
**NOTICE**
Due the danger and complexity of electronic equipment repair, the following technical tip is intended for professional reference only. Please refer to manufacturer’s recommendations as Encompass does not guarantee the
accuracy, reliability or safety of this information.
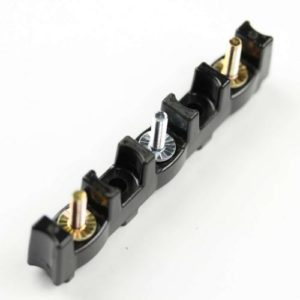
The oven terminal block provides a safe connection between the power cord and wiring. If it burns out or any of the terminals break, the part needs to be replaced. Order part number 8203546 for your Whirlpool oven and follow these steps:
1. Unplug the oven or flip the circuit breaker. This repair focuses solely on wiring and electrical parts, so there should be no power
flowing to the appliance.
 2. Remove the access panel on the terminal pull. Pull the oven away from the wall and move to the back of the appliance. Locate the
square access panel on the lower half of the back and remove the two screws holding it in place. Lift the panel away.
3. Remove the wiring around the terminal block. Take out the three nuts holding the terminal block in place. Next, pull the three bottom
wires away from the terminals and fold them to the side. Next, remove the top wiring. Take a picture of the wiring before you start so you remember the configuration. After that, loosen the screw holding the grounding strap in place around the middle terminal and remove.
4. Remove the terminal block and install the new one. Loosen the two screws holding the block in place and set them aside. Next, pull the
terminal block free of the box. Hold the new part in place and align it with the screw holes. Tighten the two screws.
5. Reattach the wiring. In this step, work backward from how you removed the wiring in Step 3. Begin by inserting the ground strip around the middle terminal and re-securing the screw. Then, slip the black, white and red wiring in place from left to right and put the nuts back in position. Next, reattach the bottom wire clamps to each terminal and tighten the second set of nuts. Ensure all of the connections are tight, especially the grounding strip.
6. Put the access panel cover back in place. Slip the square cover over the terminal block and re-tighten the two screws holding it in
place.
Special thanks to Fred’s Appliance Academy for this helpful tip.


Leave a Reply